Expo
Prerequisites
To use LiveStore with Expo, ensure your project has the New Architecture enabled. This is required for transactional state updates.
Option A: Quick start
For a quick start we recommend using our template app following the steps below.
For existing projects see Existing project setup.
-
Set up project from template
Terminal window npx tiged --mode=git git@github.com:livestorejs/livestore/examples/standalone/expo-todomvc my-appReplace
my-appwith your desired app name. -
Install dependencies
It’s strongly recommended to use
bunfor the simplest and most reliable dependency setup.bun installYou can ignore the peer-dependency warnings.
pnpm install --node-linker=hoistedMake sure to use
--node-linker=hoistedwhen installing dependencies in your project or add it to your.npmrcfile..npmrc nodeLinker=hoistedHopefully Expo will also support non-hoisted setups in the future.
Given
npmdoesn’t automatically install peer dependencies you’ll also need to also install the following peer dependencies:npm install @effect/experimental @effect/opentelemetry @effect/platform @effect/platform-browser @effect/schema @opentelemetry/api effectGoing forward you can use
npm installagain to install the dependencies.When using
yarn, make sure you’re using Yarn 4 or higher with thenode-moduleslinker.yarn set version stableyarn config set nodeLinker node-modulesyarn installAdditionally, given
yarndoesn’t automatically install peer dependencies you’ll also need to install the following peer dependencies:yarn add @effect/experimental @effect/opentelemetry @effect/platform @effect/platform-browser @effect/schema @opentelemetry/api effectPro tip: You can use direnv to manage environment variables.
-
Run the app
bun iosorbun androidpnpm iosorpnpm androidnpm run iosornpm run androidyarn iosoryarn android
Option B: Existing project setup
-
Install dependencies
Terminal window npx expo install @livestore/devtools-expo @livestore/expo @livestore/livestore @livestore/react @livestore/utils effect expo-sqlite -
Add Vite meta plugin to babel config file
LiveStore Devtools uses Vite. This plugin emulates Vite’s
import.meta.envfunctionality.bun add -d babel-plugin-transform-vite-meta-envpnpm add -D babel-plugin-transform-vite-meta-envyarn add -D babel-plugin-transform-vite-meta-envnpm install --save-dev babel-plugin-transform-vite-meta-envIn your
babel.config.jsfile, add the plugin as follows:module.exports = function (api) {api.cache(true)return {presets: ['babel-preset-expo'],plugins: ['babel-plugin-transform-vite-meta-env', '@babel/plugin-syntax-import-attributes'],}} -
Update Metro config
Add the following code to your
metro.config.jsfile:const { getDefaultConfig } = require('expo/metro-config')const { addLiveStoreDevtoolsMiddleware } = require('@livestore/devtools-expo')/** @type {import('expo/metro-config').MetroConfig} */const config = getDefaultConfig(__dirname)config.resolver.unstable_enableSymlinks = trueconfig.resolver.unstable_enablePackageExports = trueconfig.resolver.unstable_conditionNames = ['require', 'default']// Add LiveStore Devtools middleware only in a local development environmentif (!process.env.CI && process.stdout.isTTY) {addLiveStoreDevtoolsMiddleware(config, { schemaPath: './schema/index.ts' })}module.exports = config
Define your schema
To define the data structure for your app, set up a schema that specifies the tables and fields your app uses.
-
In your project root, create a schema folder and inside it create a file named index.ts. This file defines the tables and data structures for your app.
-
In
index.ts, define a table to represent a data model, such as atodos.
Here’s an example:
import { DbSchema, makeSchema } from '@livestore/livestore'import * as mutations from './mutations'
const todos = DbSchema.table(  'todos',  {    id: DbSchema.text({ primaryKey: true }), // Unique identifier for each todo item    text: DbSchema.text({ default: '' }), // Text content of the todo    completed: DbSchema.boolean({ default: false }), // Status of the todo item    deleted: DbSchema.integer({ nullable: true }), // Optional field to mark deletion  },  { deriveMutations: true }, // Automatically derive mutations for this table)
export type Todo = DbSchema.FromTable.RowDecoded<typeof todos>
export const tables = {  todos,}
export const schema = makeSchema({  tables,  mutations: {    // Add more mutations    ...mutations,  },  migrations: { strategy: 'from-mutation-log' }, // Define migration strategy})
export * as mutations from './mutations'
Mutations
Create a file named mutations.ts inside the schema folder. This file stores the mutations your app uses to interact with the database.
A “mutation” is a function that encapsulates raw database queries. It ensures updates to your LiveStore are made in a safe, consistent, and reliable way. Mutations help prevent errors and keep your database operations robust.
Use the Schema module from effect along with defineMutation and sql from @livestore/livestore to define these functions. These tools let you create fully typed mutations for secure and efficient database interactions.
Here’s an example:
import { Schema } from 'effect'import { defineMutation, sql } from '@livestore/livestore'
export const addTodo = defineMutation(  'addTodo',  Schema.Struct({ id: Schema.String, text: Schema.String }),  sql`INSERT INTO todos (id, text, completed) VALUES ($id, $text, false)`,)
export const completeTodo = defineMutation(  'completeTodo',  Schema.Struct({ id: Schema.String }),  sql`UPDATE todos SET completed = true WHERE id = $id`,)
export const deleteTodo = defineMutation(  'deleteTodo',  Schema.Struct({ id: Schema.String, deleted: Schema.Number }),  sql`UPDATE todos SET deleted = $deleted WHERE id = $id`,)
Add the LiveStore Provider
To make the LiveStore available throughout your app, wrap your app’s root component with the LiveStoreProvider component from @livestore/react. This provider manages your app’s data store, loading, and error states.
Here’s an example:
import React from 'react'import { Stack } from 'expo-router'import { makeAdapter } from '@livestore/expo'import { BaseGraphQLContext, LiveStoreSchema, sql, Store } from '@livestore/livestore'import { LiveStoreProvider } from '@livestore/react'import { cuid } from '@livestore/utils/cuid'import { Button, Text, unstable_batchedUpdates as batchUpdates } from 'react-native'
import { mutations, schema } from '../schema/index'
const adapter = makeAdapter()
export default function RootLayout() {  const [, rerender] = React.useState({})
  return (    <LiveStoreProvider      boot={boot}      schema={schema}      adapter={adapter}      batchUpdates={batchUpdates}      renderLoading={(_) => <Text>Stage: {_.stage}</Text>}      renderShutdown={() => <Button title="Reload" onPress={() => rerender({})} />}      renderError={(error: any) => <Text>Error: {JSON.stringify(error, null, 2)}</Text>}    >      <Stack>        <Stack.Screen name="index" />      </Stack>    </LiveStoreProvider>  )}
/** * This function is called when the app is booted. * It is used to initialize the database with initial data. */const boot = (store: Store<BaseGraphQLContext, LiveStoreSchema>) => {  // If the todos table is empty, add an initial todo  if (store.__select(sql`SELECT count(*) as count FROM todos`)[0]!.count === 0) {    store.mutate(mutations.addTodo({ id: cuid(), text: '☕ Make coffee' }))  }}
Use a mutation
After wrapping your app with the LiveStoreProvider, you can use the useStore hook from any component to execute mutations.
Here’s an example:
import { useStore } from '@livestore/react'import { deleteTodo } from '@/schema/mutations'
export default function HomeScreen() {  const { store } = useStore()  return (    <Button      title="Delete my todo"      onPress={() => {        store.mutate(deleteTodo({ id: '1', deleted: Date.now() }))      }}    />  )}
Queries
To retrieve data from the database, first define a query using querySQL from @livestore/livestore. Then, execute the query with the useQuery hook from @livestore/react.
Consider abstracting queries into a separate file to keep your code organized, though you can also define them directly within components if preferred.
Here’s an example:
import { View, Text } from 'react-native'import { useQuery } from '@livestore/react'import { querySQL, sql } from '@livestore/livestore'import { Schema } from 'effect'import { tables } from '@/schema'
export default function HomeScreen() {  // Define a query  const todosQuery = querySQL(sql`SELECT * FROM todos`, {    schema: Schema.Array(tables.todos.schema),    label: 'todos',  })
  // Use the query  const todos = useQuery(todosQuery)
  console.log(todos)  // Output:  // [  //   {  //     id: "1",  //     completed: false,  //     deleted: null,  //     text: "Make coffee"  //   }  // ]
  return (    <View>      <Text>{todos[0].text}</Text>    </View>  )}
Devtools
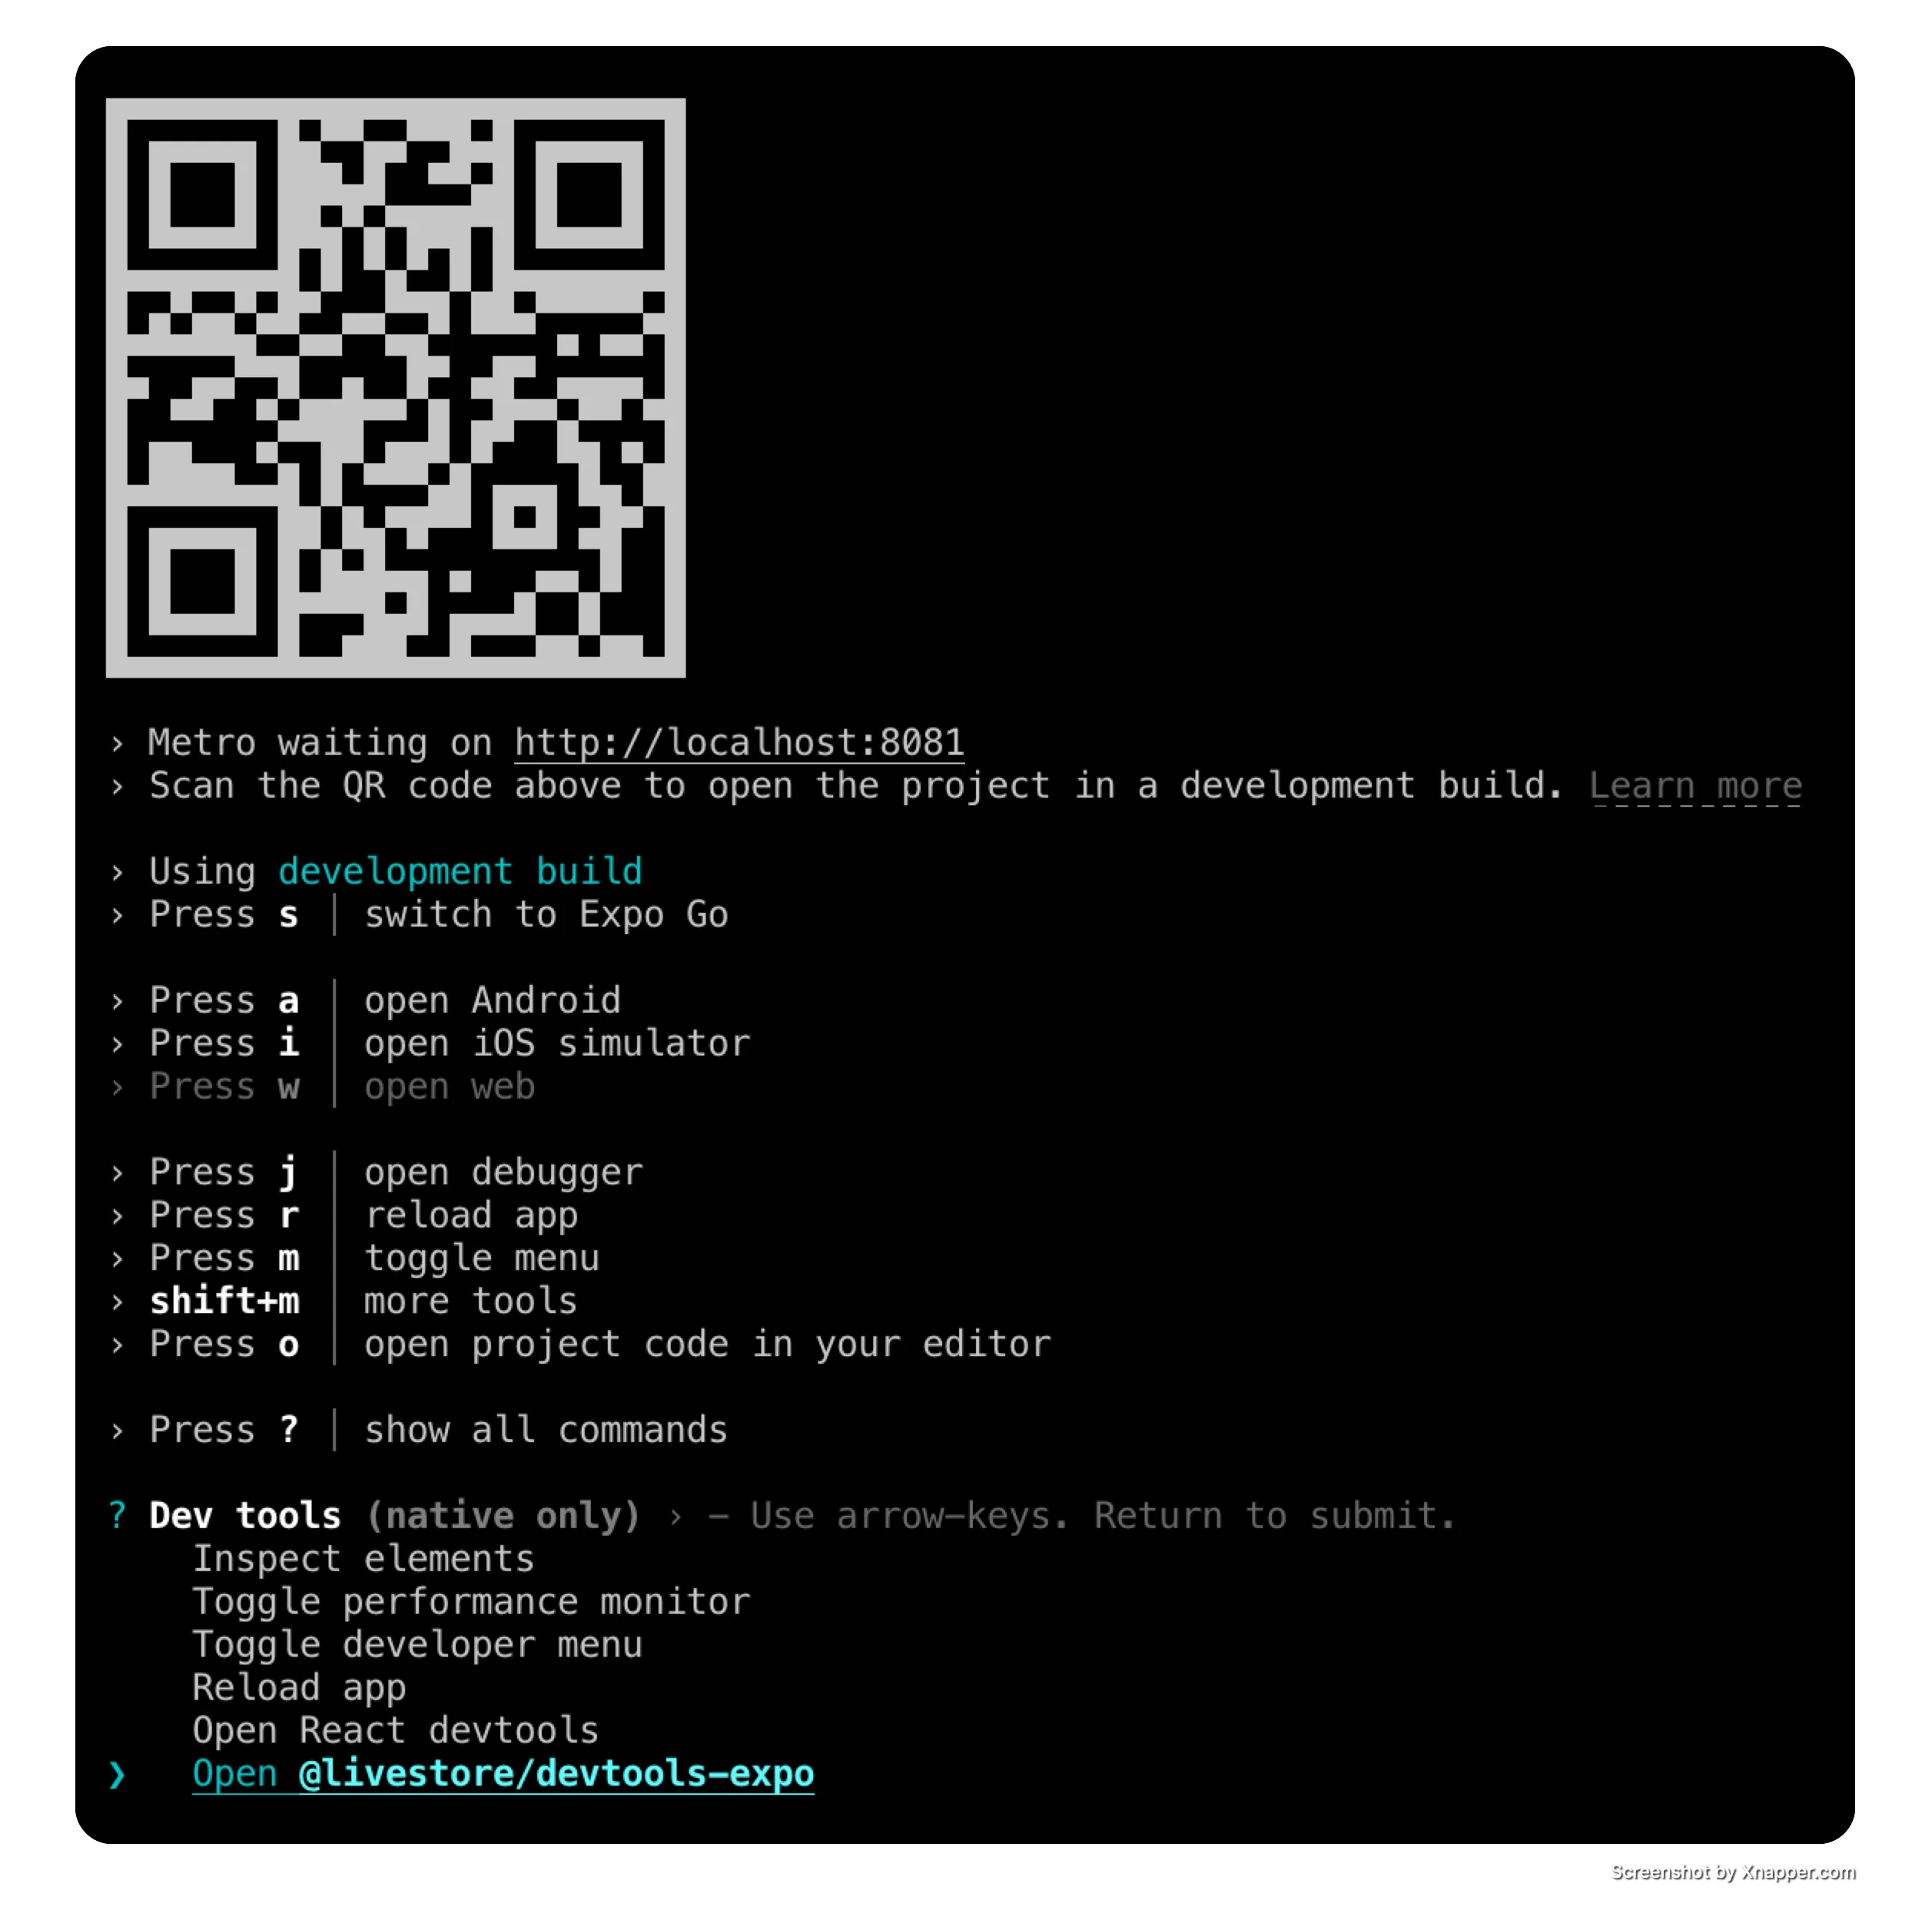
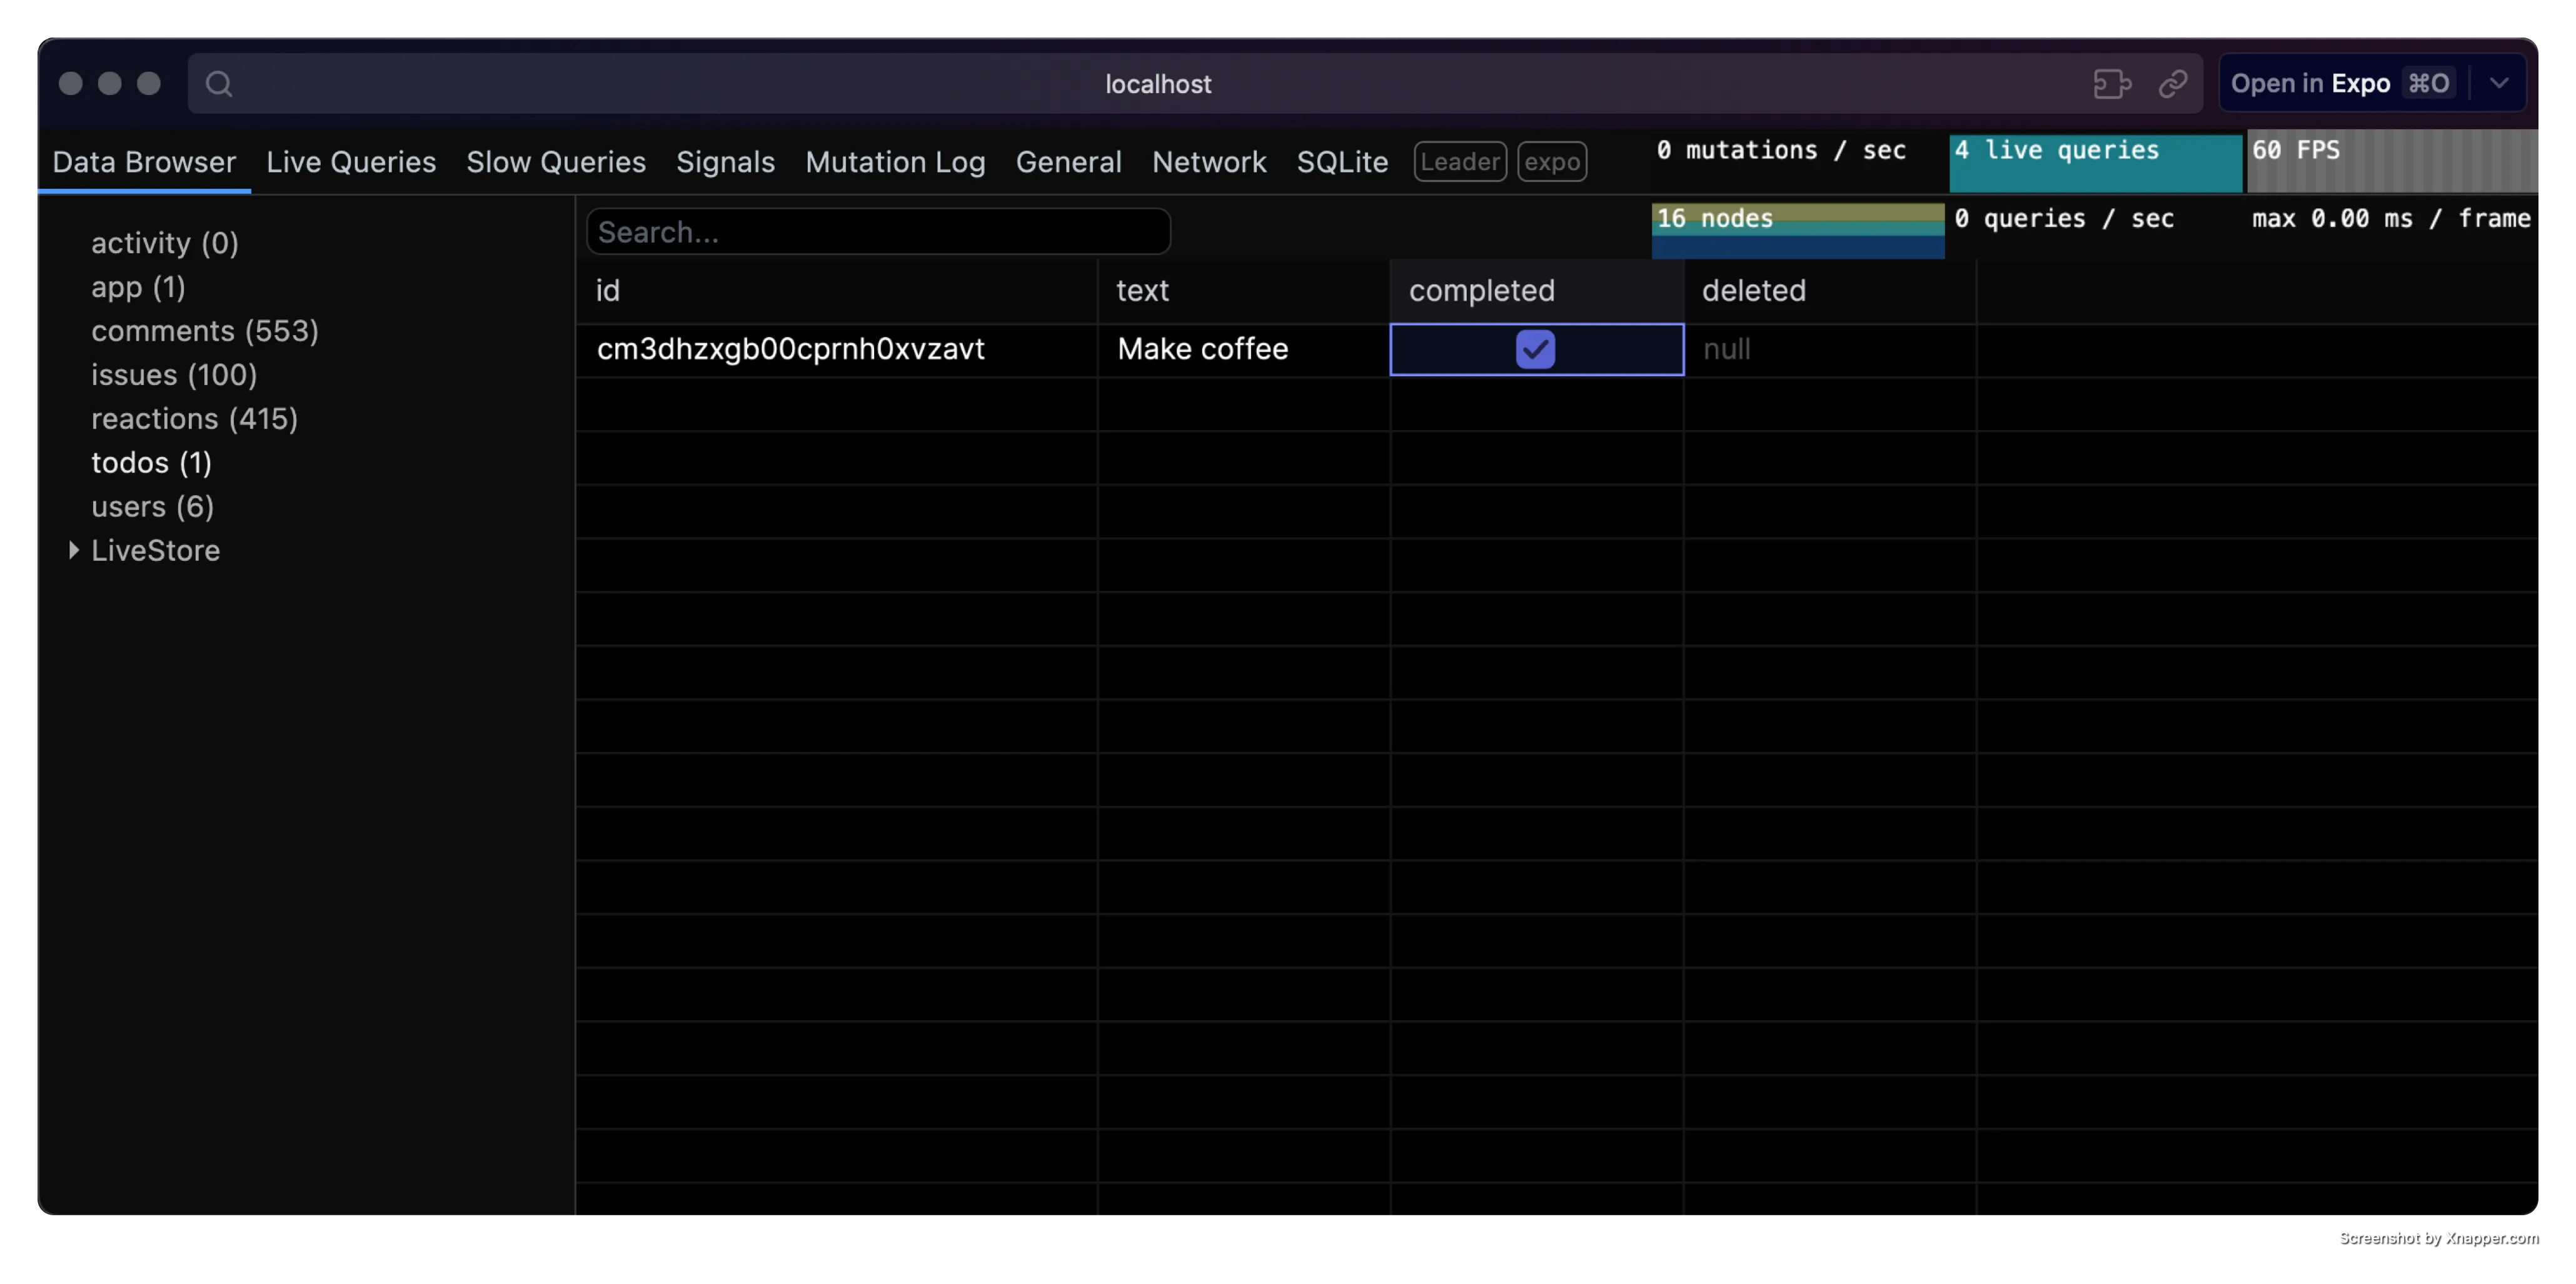
To open the devtools, run the app and from your terminal press shift + m, then select LiveStore Devtools and press Enter.

This will open the devtools in a new tab in your default browser.

Use the devtools to inspect the state of your LiveStore database, execute mutations, track performance, and more.
Database location
With Expo Go
To open the database in Finder, run the following command in your terminal:
open $(find $(xcrun simctl get_app_container booted host.exp.Exponent data) -path "*/Documents/ExponentExperienceData/*livestore-expo*" -print -quit)/SQLiteWith development builds
For development builds, the app SQLite database is stored in the app’s Library directory.
Example:
/Users/<USERNAME>/Library/Developer/CoreSimulator/Devices/<DEVICE_ID>/data/Containers/Data/Application/<APP_ID>/Documents/SQLite/app.db
To open the database in Finder, run the following command in your terminal:
open $(xcrun simctl get_app_container booted [APP_BUNDLE_ID] data)/Documents/SQLiteReplace [APP_BUNDLE_ID] with your app’s bundle ID. e.g. dev.livestore.livestore-expo.
Further notes
- LiveStore doesn’t yet support Expo Web (see #130)
